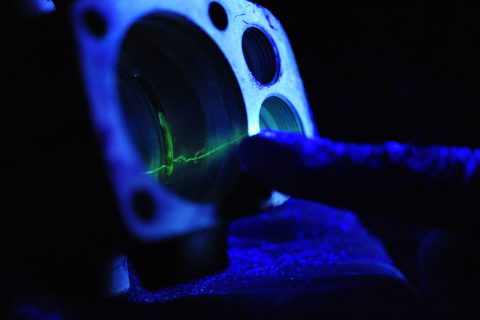
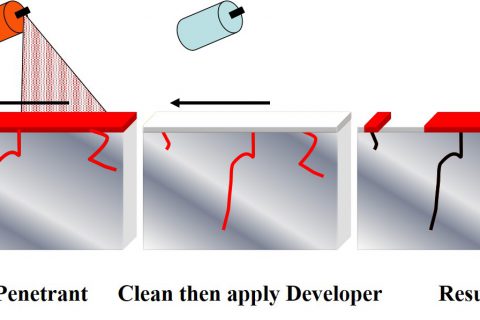
Liquid Penetrant Testing (PT) reveals surface flaws in non-porous material and metallic and non-metallic surfaces by the “bleed-out” of penetrating medium against a contrasting background. This is done by applying a penetrant to the pre-cleaned surface and flaw of the item being inspected.
The penetrant is applied to the surface and allowed to remain on the surface for a prescribed time (dwell time); the penetrant liquid will be drawn into any surface opening by capillary action. Following the removal of the excess penetrant, an application of the developer reverses the capillary action and draws the penetrant from the flaw. The resultant indications reveal the presence of the flaw so that it can be visually inspected and evaluated.
Materials that can be inspected using LPT include; metals (aluminum, copper, steel etc.), rubber, glass, and plastics. The LPT is used only to detect surface defects including –
1) Fatigue Cracks
2) Grinding Cracks
3) Porosity
4) Laps
5) Seams
6) Pin holes in welds
7) Lack of fusion along the edge of the bond line
Through this technique, our experts evaluate the condition and quality of a component. With a wide variety of penetrant materials and a custom-made fluorescent penetrant inspection system, we provide both field and lab testing, with high-volume processing of many different parts with both fluorescent and visible penetrants.


